
ADDIE Microlesson: Let’s Learn About ADDIE
e-learning microlesson
Audience: Instructional Designers
Responsibilities: Script Writing, Storyboarding, Visual Design, Prototype Development
Problem Solved: Help novice instructional designers understand the Instructional Design process of ADDIE (Analysis, Design, Development, Implementation, Evaluation).
Timeline: Aug-Sept 2025
Tools: Lectora, WCAG
Design Document
In this stage, I developed the project overview, researched the target audience, drafted the prerequisite knowledge, project objectives, and content overview.
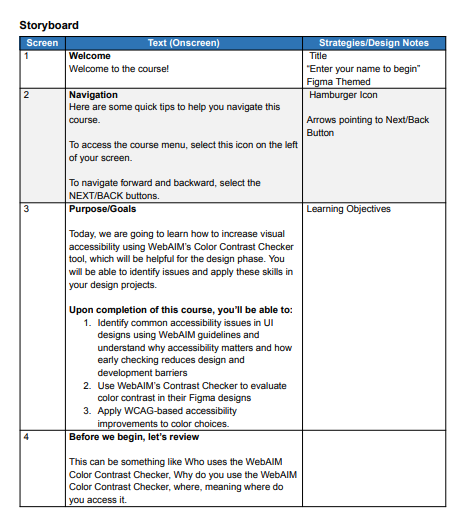
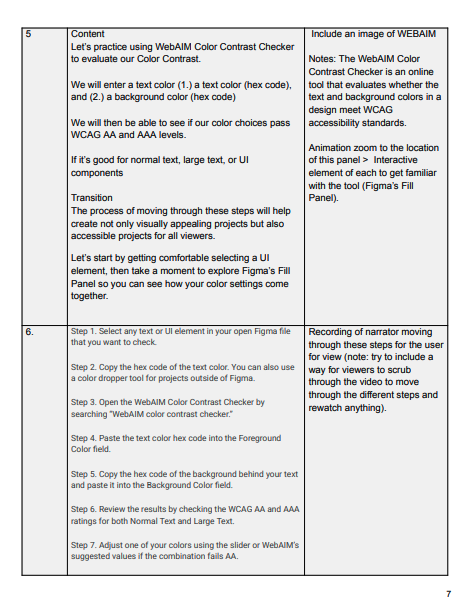
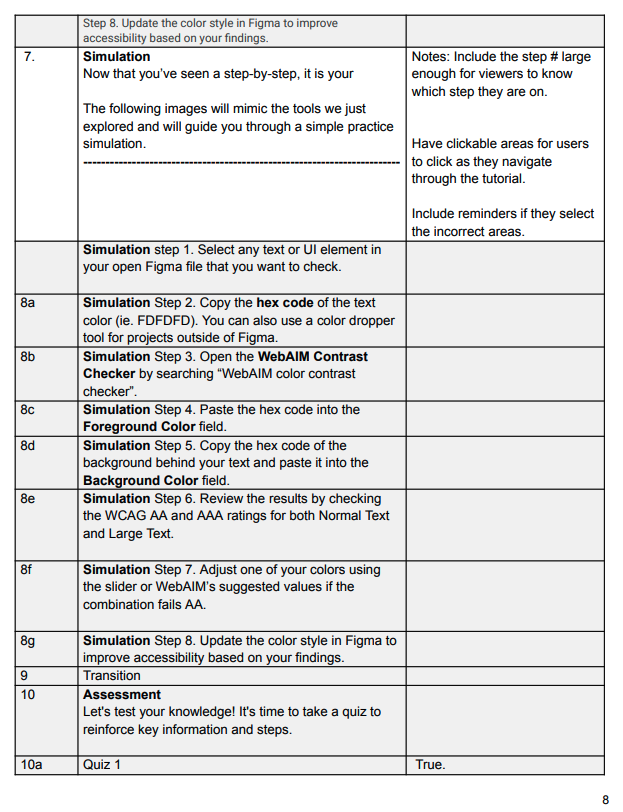
Storyboard
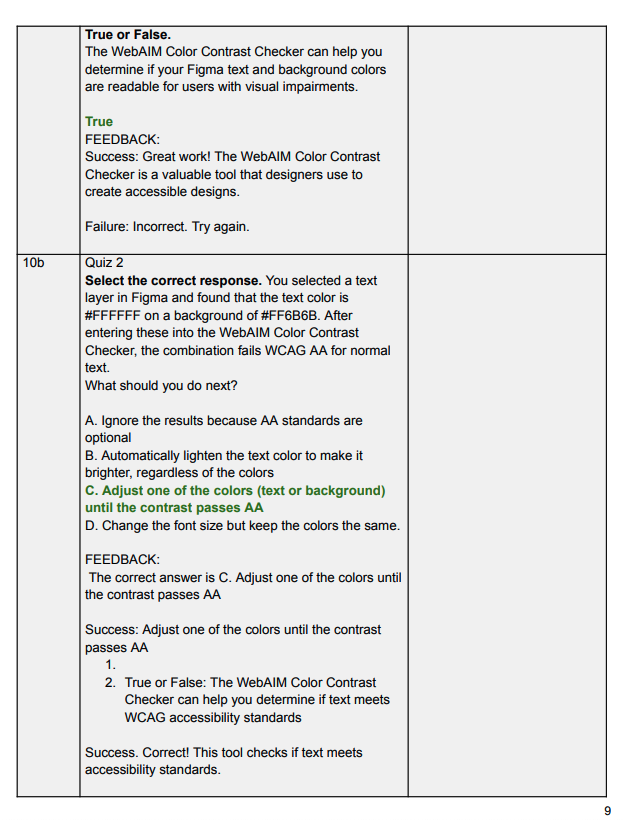
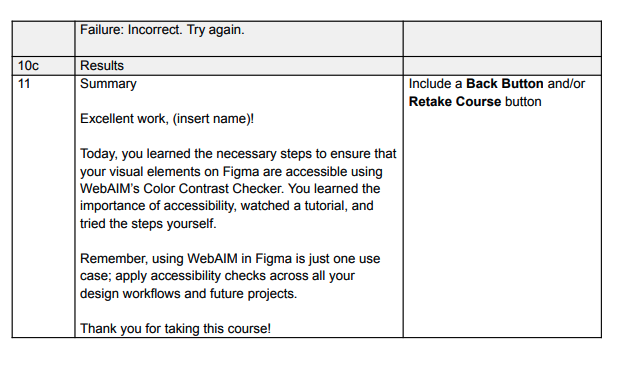
For this stage, I planned my screens and included design notes on where the texts were going to logistically flow. I decided that for learners to complete the process successfully, breaking down the flow in 8 steps made the most sense. This is also the stage where I wrote out my questions and feedback for correct and incorrect responses.
Project Overview
In this project, I addressed the challenge of learner passivity by transforming the theoretical ADDIE framework into an interactive, application-based microlesson. By simulating a real-world digital environment, I reduced the barrier between 'learning' the model and 'using' the model.
Process
For this project, I was both the SME and designer. I first gathered the definitions I needed to explain the ADDIE process. ADDIE is a classic instructional design model developed in the 1970s that has since been widely adopted. It is organized into five interrelated phases and help guide the decisions of Instructional Designers to ensure they are aligning projects to design best practices.
Mind Map
For this project, I found it best to start with the problem, then break up the different sections that would help novice instructional designers understand the ADDIE model. This included introduction, navigation, definition, drag and drop, knoweldge test.

Interactive Prototype and Full Development
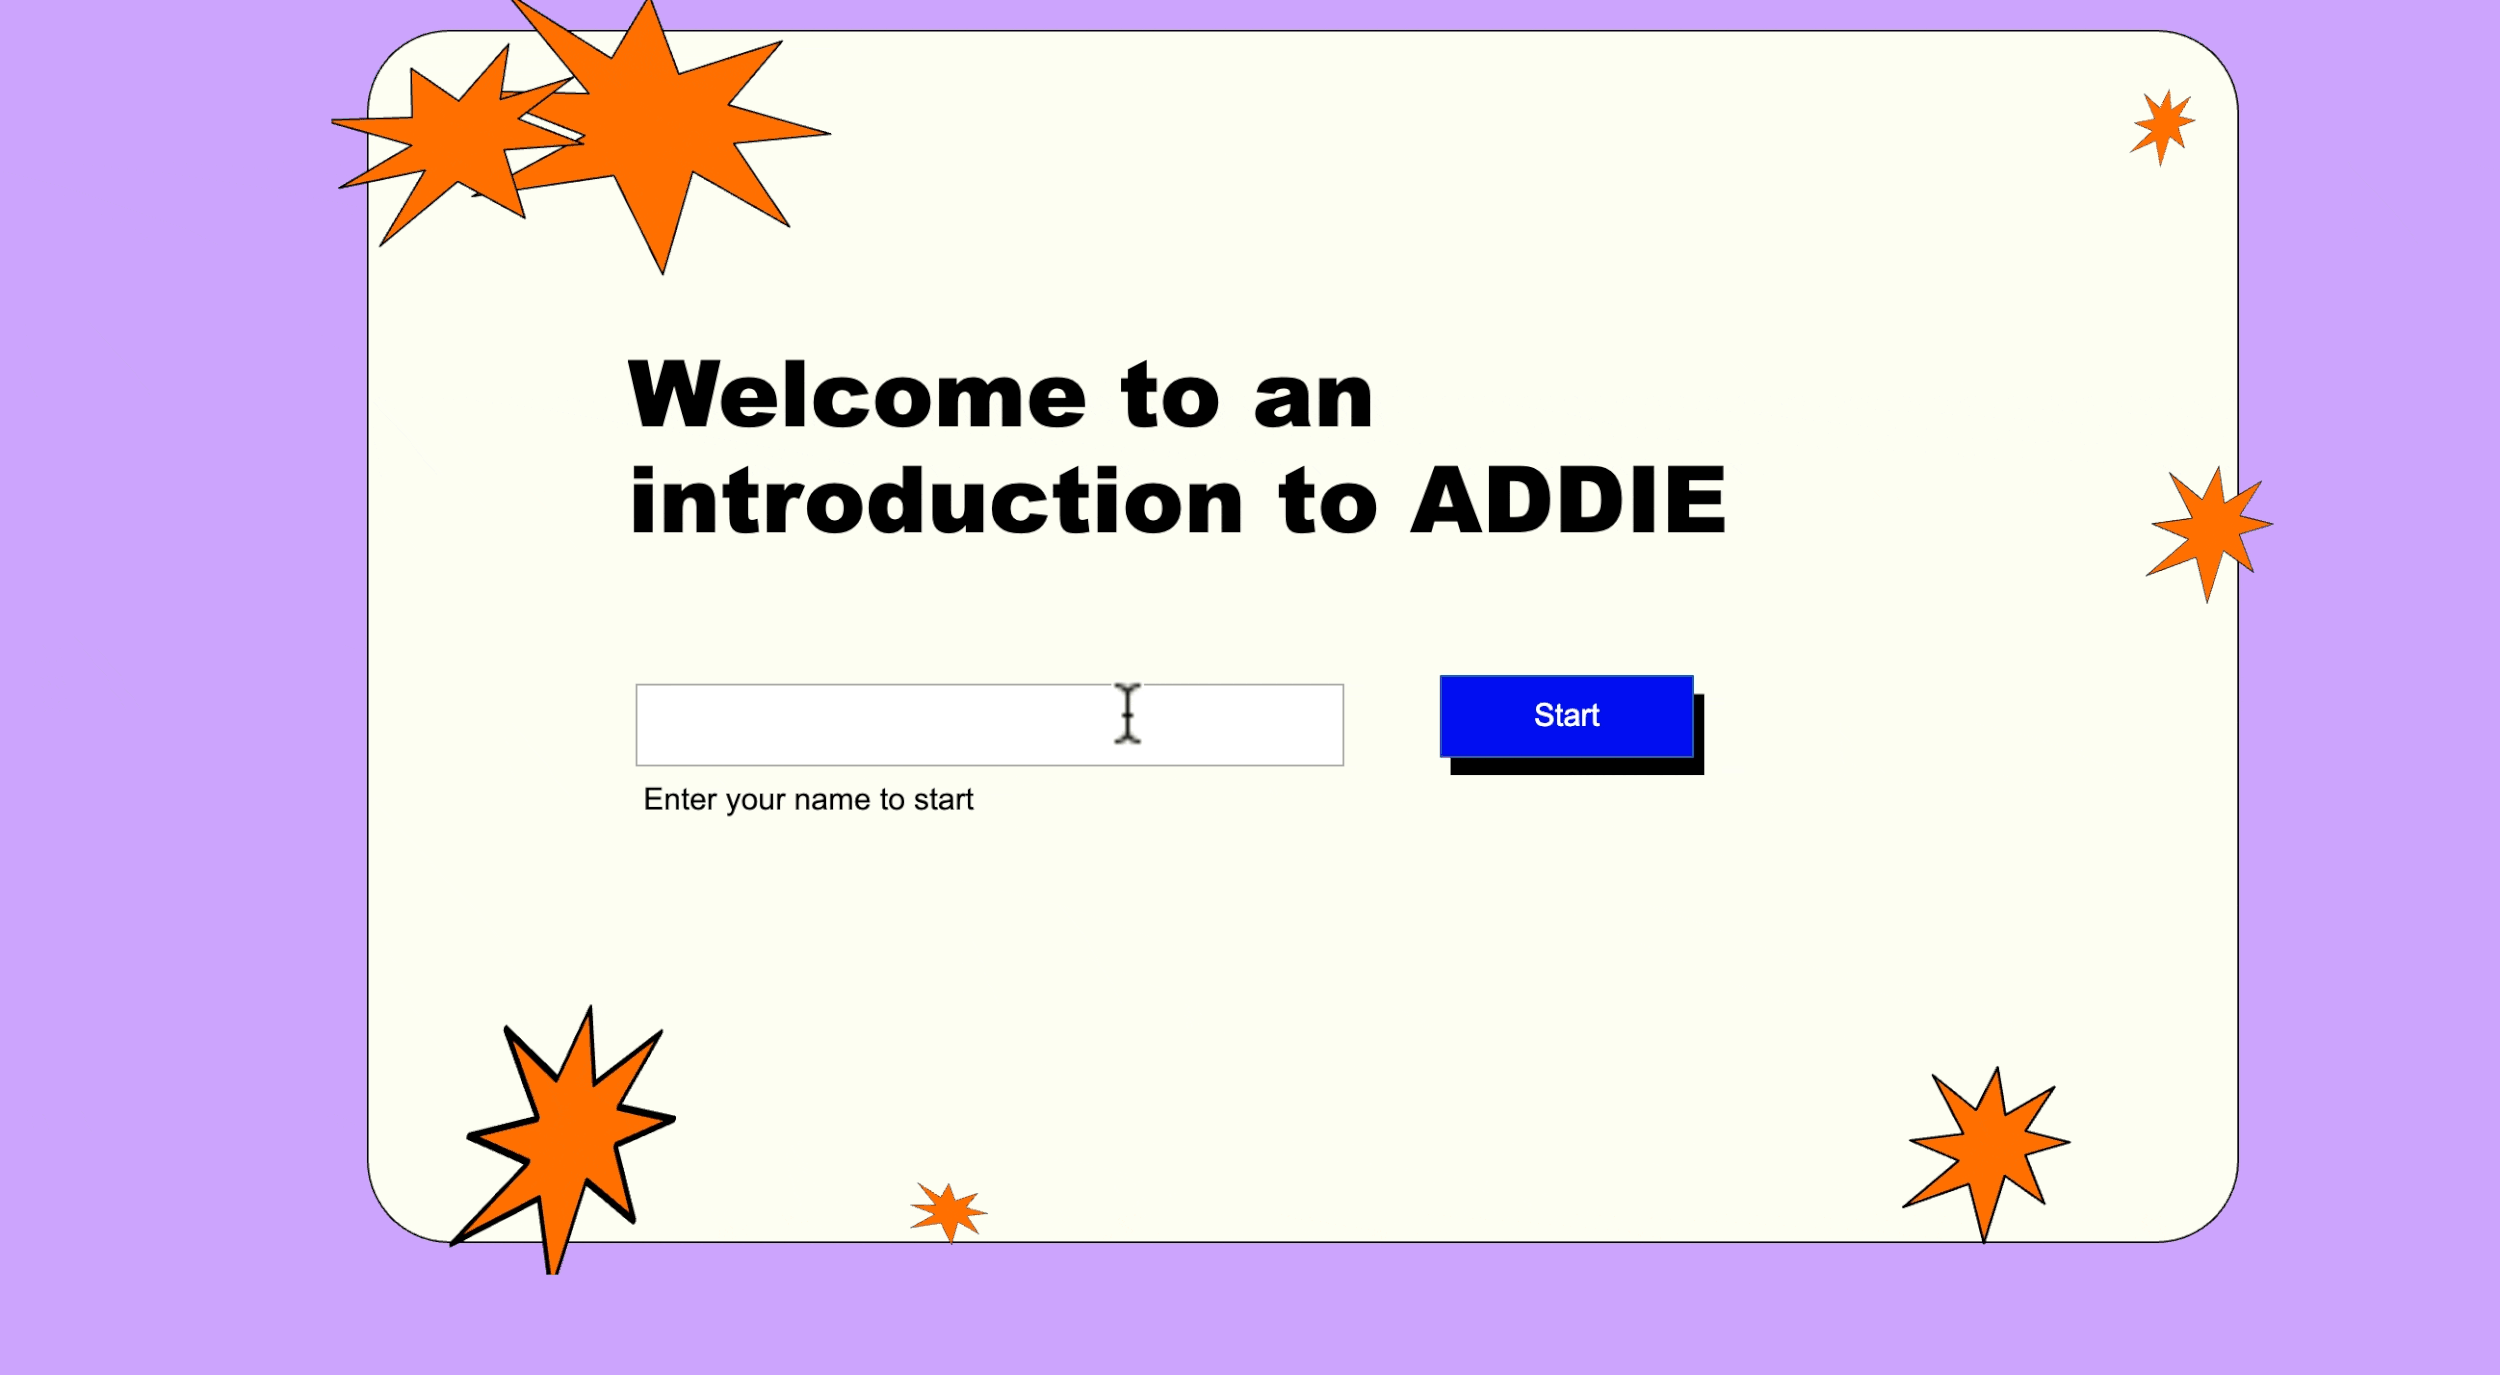
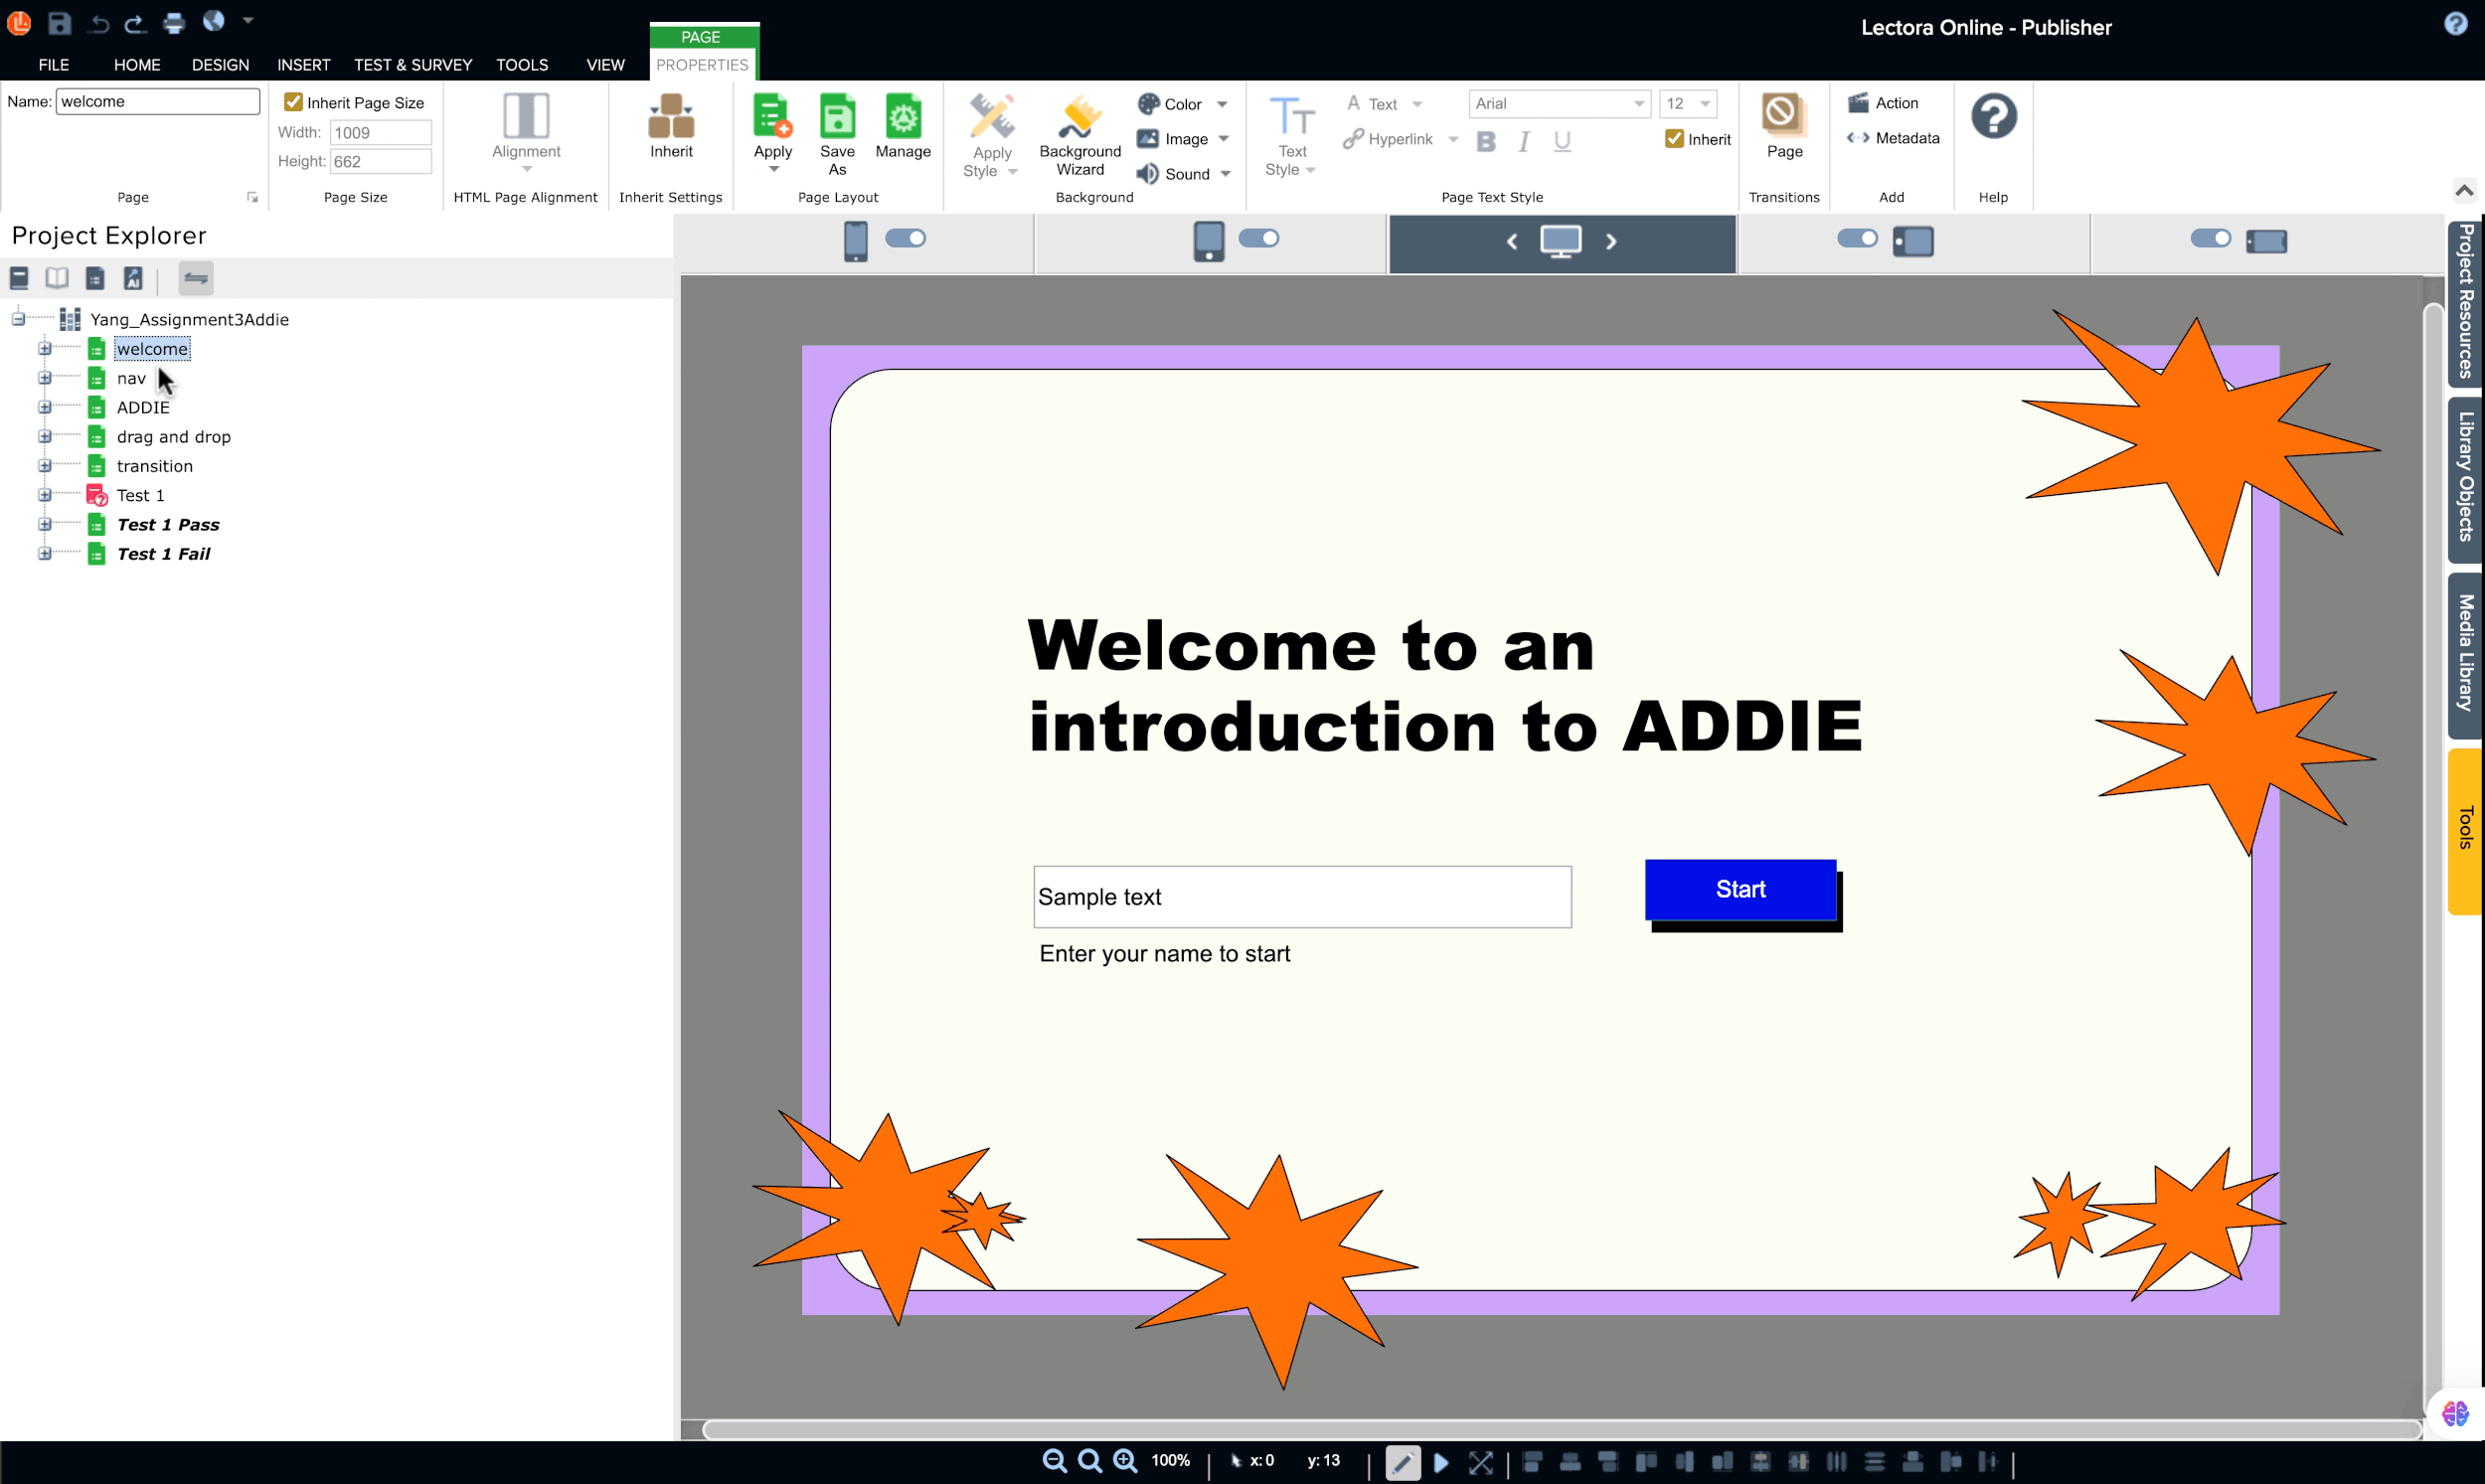
In this stage, I created the interactive prototype using Lectora where I built out the click and reveal states of each letter of ADDIE, and built out the drag and drop practice. For each button, I assigned my call to action color which is #000ef1, background color, which is #fefef3, and assigned triggers and states to each button taking the learner to the next learning activity. The placement of each button location especially the “next” and “back” buttons and the navigation bar is intentially place to optimize seamless user experience.
Results and Takeaway
After completion of the interactive prototype, I had tests go through to catch any bugs in the system, and then I presented it to key stakeholders. The feedback received was that the delivery is clean and intuitive.
As an instructional designer, I enjoy learning and challenging myself to grow and gain new skills. This was the first time using Lectora to create the end-to-end project, after becoming used to Articulate Storyline’s software. The most noticeable differences were the organization of the tools within the software, the location of triggers/variables, and the project overview. Rather than Articulate Storyline’s familiar “storyview” to show the project outline, Lectora’s project explorer uses a folder view to organize each scene.
Overall, I really enjoyed this project and am pleased with the results. I am definitely looking forward to using these skills in future projects.